¶ vSTAGE Overview
vSTAGE is our 3D Real-time editor and Slideshow Package that works by saving the state of various slides and applying smooth transitions between them. The changes that are interpolated between slides are the Camera's position and rotation, all the 3D-Data and Assets position, rotation and scale and even the Scene settings (e.g. Lighting, contrast, bloom, etc.).
Given that the media and 3D-Data has been successfully uploaded, and assigned to the proper Organization and team, we can proceed to create our project inside of vSTAGE. If it's not clear how to set up a vSTAGE project, please visit our previous chapter “Running vSTAGE for the first time”.
Once we have fulfilled all the prerequisites and open our project we are met with our 3D Data located in the middle of the Scene of our choosing while being in “Play mode”. vSTAGE has two workspaces or modes, known as “Edit mode” and “Play mode”. “Edit mode” allows us to place Assets in our scene, manage slides, and commit edits in 3D Space. “Play mode” allows us to visualize the interactive slideshow, be it with automatic playback or manual control.
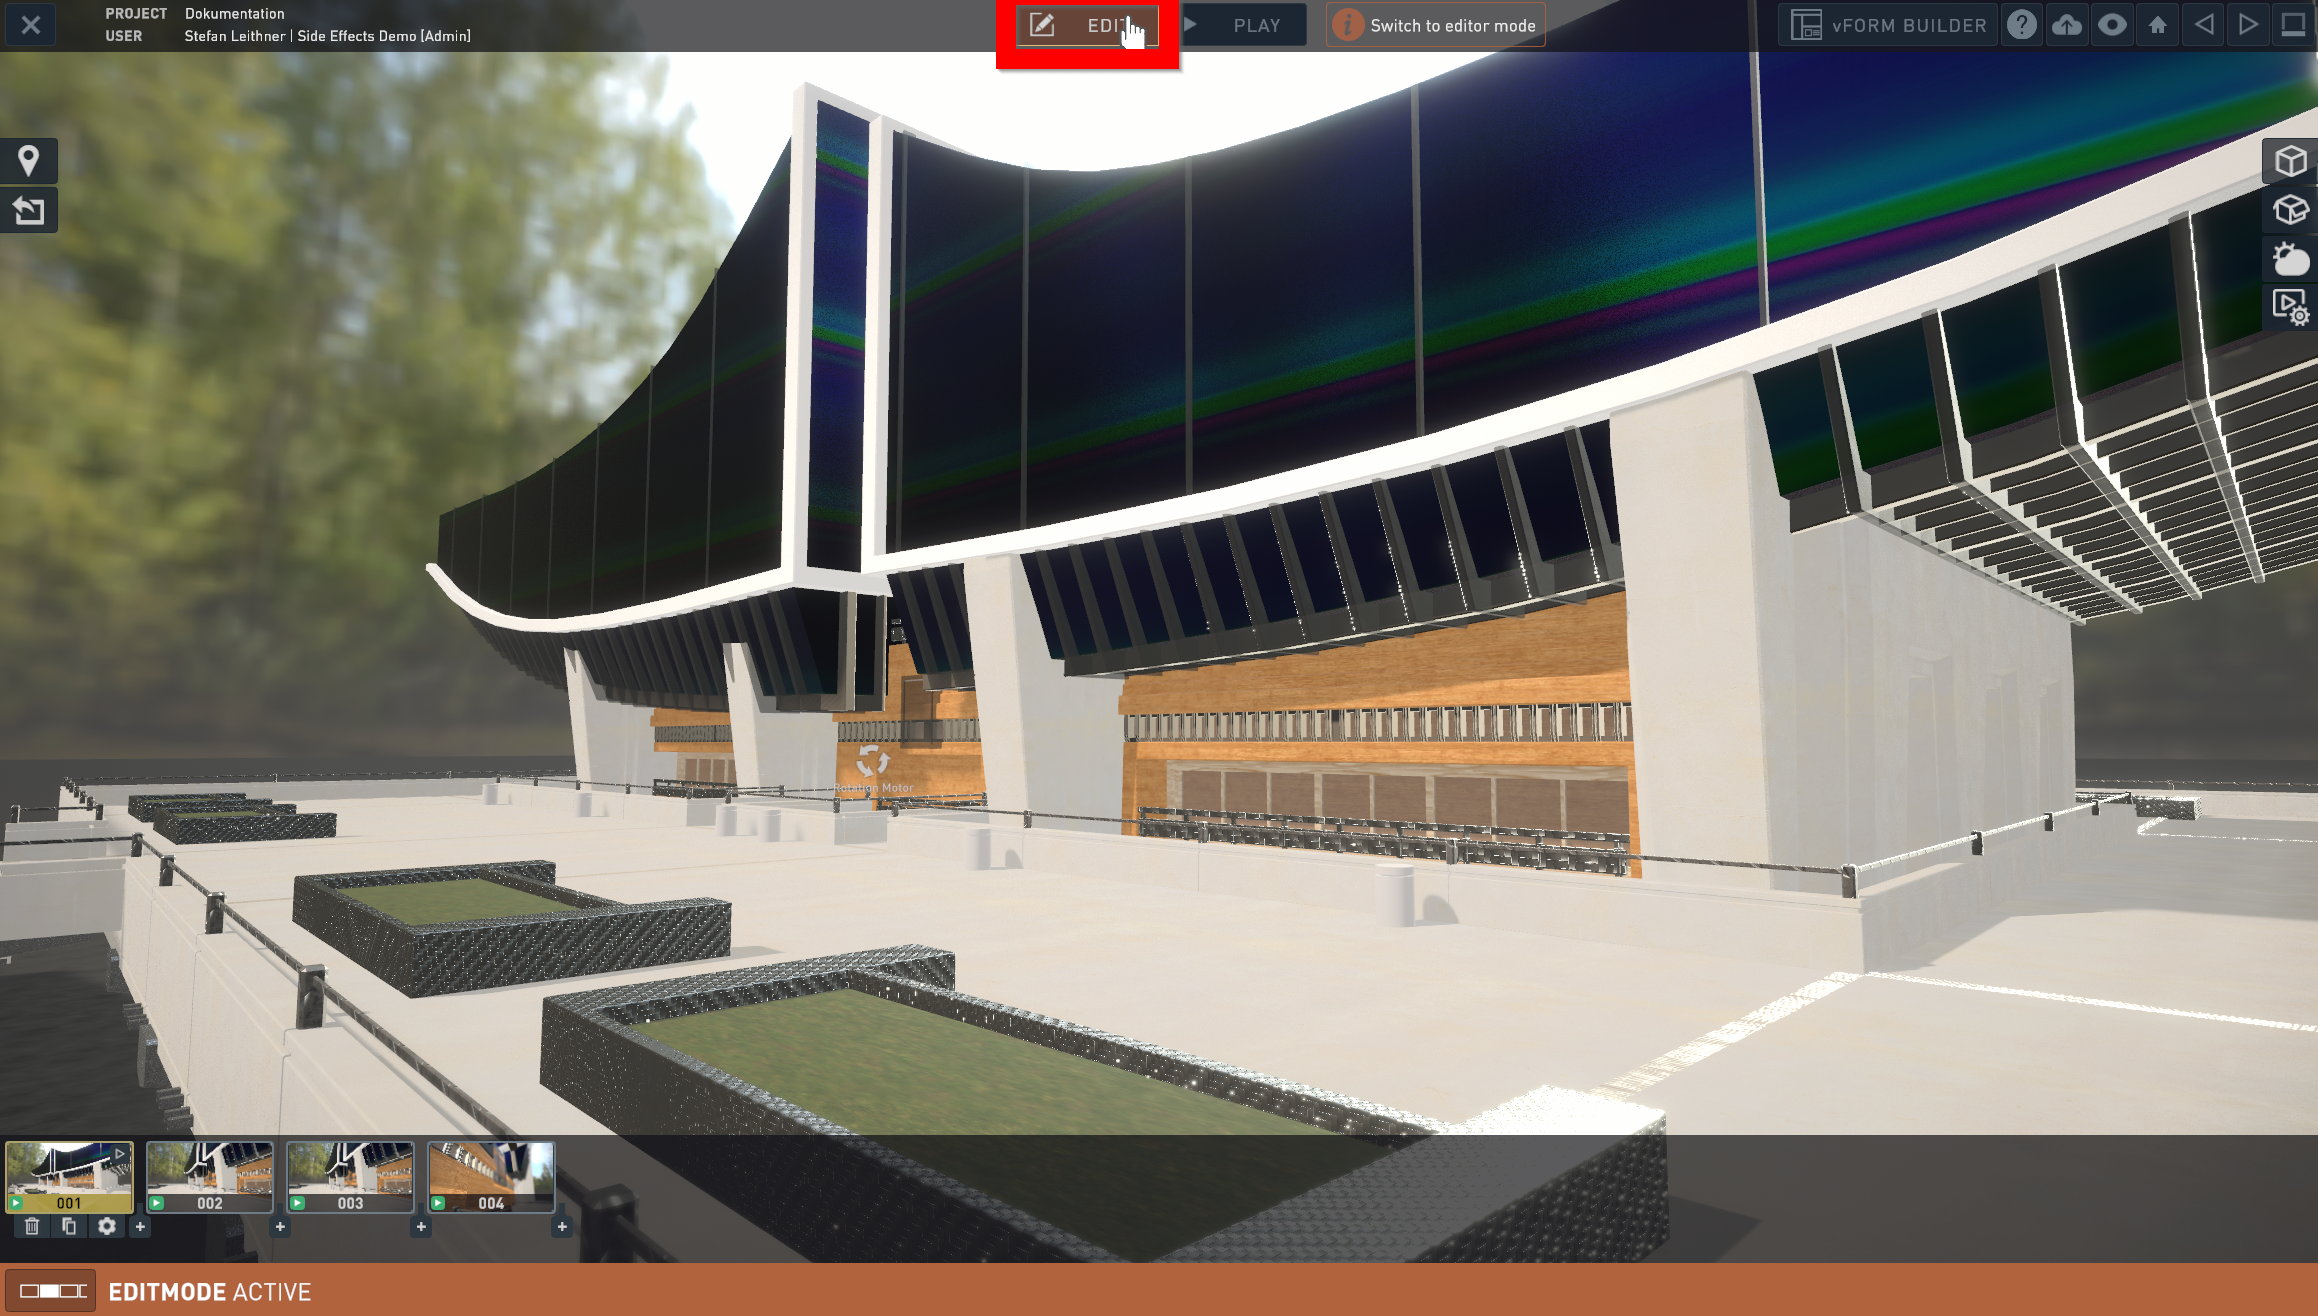
To start working on the project we will switch to “Edit mode” by clicking on its respective button located on the upper section of vSTAGE.
¶ Edit Mode
The “Edit mode" is made up out of different components with whom the User can interact with. To be noted that some behaviors change between modes.
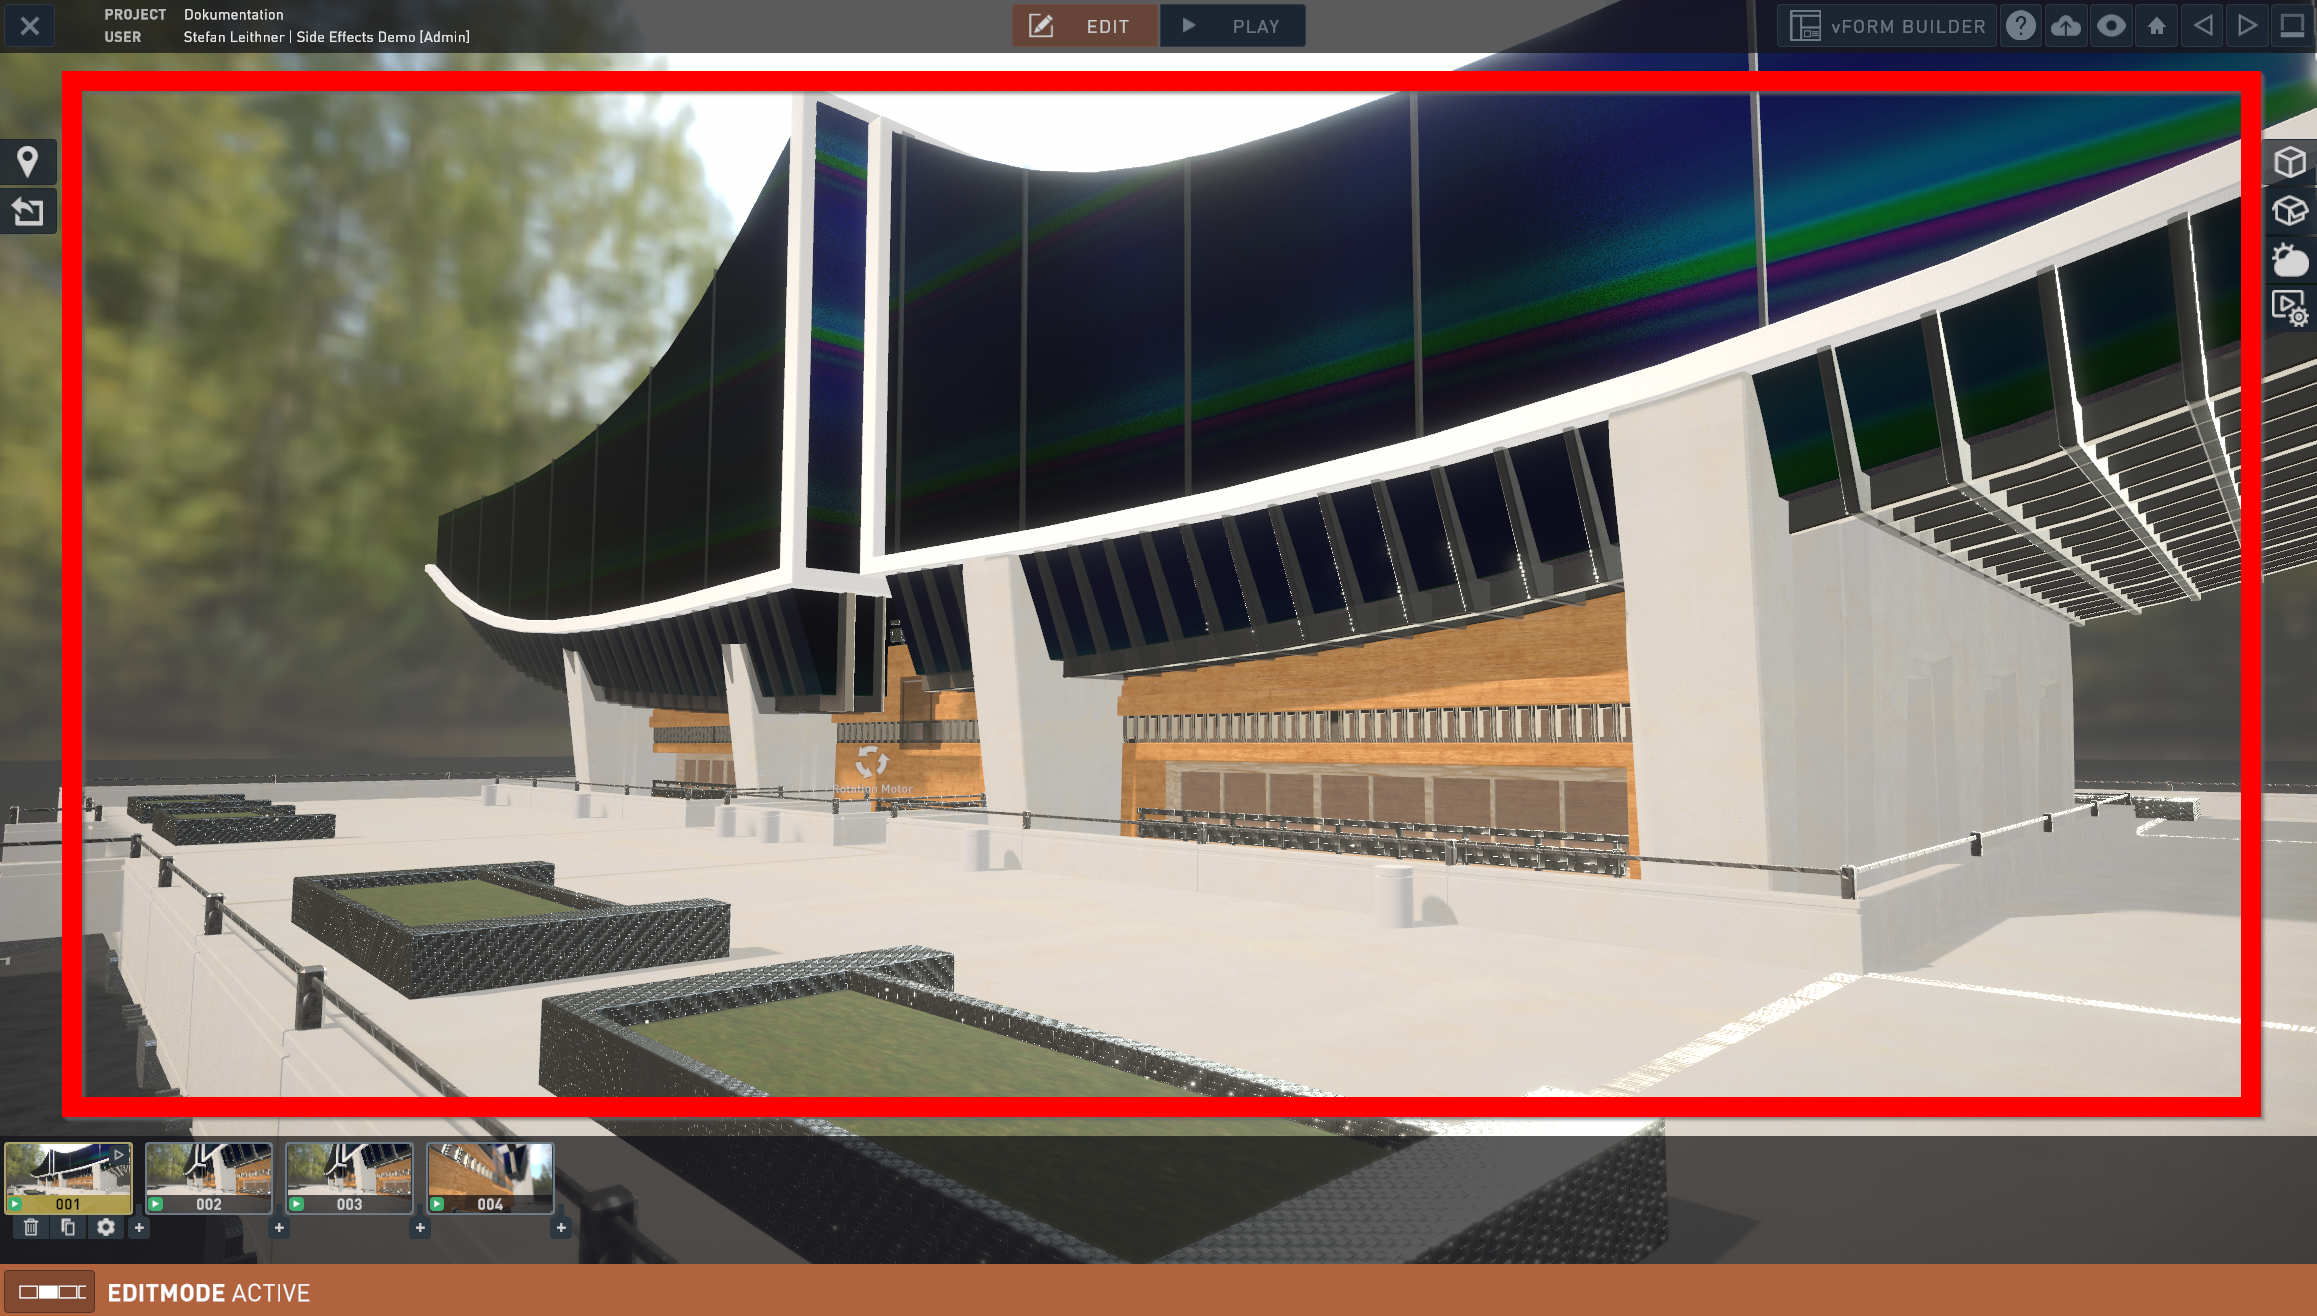
¶ Viewport
The viewport is everything that is visualized by the camera and doesn't form part of the User Interface. It contains the scene, the 3D-Group and Placeable assets (elaborated further later, these may include other Assets such as Simpler 3D-Data, Media and text).
vSTAGE's viewport has behavior that differs from most 3D Applications, as it is not considered freeform roaming but it is based instead on moving respective to the pivot point of any placed object that has been designed as the “Focus Target". To navigate the viewport the User may use the mouse to do the following:
- Orbit: Hold Left mouse button and move the mouse around
- Zoom in/out: Scroll middle mouse button.
At the time of writing this document, Panning with the camera in “Edit Mode” is not available yet. In “Play mode” we can replicate the panning effect by switching the “Focus Target” from Object A to Object B between two slides while not rotating the camera at all.
¶ Slides Bar
In Edit mode, Slides are one click away at any given time due to the Slides bar. This bar contains all the Slides in the slideshow, general settings for slides as well as 3 functions that help us set up the transition between slides.
When active, a Slide in the bar will be highlighted and display 4 options underneath it those option only affect the active slide:
- Delete: Eliminates the current slide, converting the next slide in line into the active slide.
- Clone: Creates a duplicate of the current slide, if there are any unsaved changes, the active slide will keep the changes and the duplicate will keep the original save state.
- General Setting: Displays option that handle the Slides behavior once in play mode, such as:
- Autoplay media
- Camera options: Field of view, reset “Focus Target”
- Autoplay options: On/Off and duration
- Delete Media content
- Transpose Slide: Moves the active slide to the position past the previous or next slide.
Once changes have been made in the viewport there are 3 functions that will pop up on the lower right section of the screen, these helps us save or discard any changes we may have committed:
It's important to note that vSTAGE's slide transition works off of any changes that are done and are visible in the viewport even camera movement, so it is important to check the state of the slide before committing a save.
- Save: Saves all the changes that happened inside the scene; Camera movement or settings change, 3D group transformations and Scene settings change.
- Revert Changes: reverts all changes back to the slide's previous save state.
- Revert camera: reverts the Camera position and rotations back to how they were in the previous save state while keeping other changes in the scene intact.
¶ Top Bar
At the uppermost section of the viewport we can find the Top Bar, it shows the name of the Project and the User that is logged in. It provides access to vSTAGE's Edit and Play mode and also has 7 essential functions:

- Close Project: Terminates the current session.
- Session Details: Displays current User, organization and Project Title.

- vForm Builder: Opens the vForm editor, creates and links a vForm to the current Project.
- Opens help desk.
- Upload Project: Uploads the Project to vHUB.
- Opens helper settings.
- First Slide: switches to first slide and sets it as active.
- Previous Slide: switches to the previous slide.
- Next Slide: switches to the next slide.
- Minimize Application: Minimizes the app to the taskbar.
¶ 3D Objects
Found on the right side of the viewport, the 3D Objects tab contains a list of he items placed in the scene, both from the “Placeable Assets” list as well as the 3D-Group added during the vSTAGE creation process. The menu is made out of the Filtered search drop down menu, list of Assets present in the scene and an assortment of Assets options that can be toggled on and off, globally or locally.
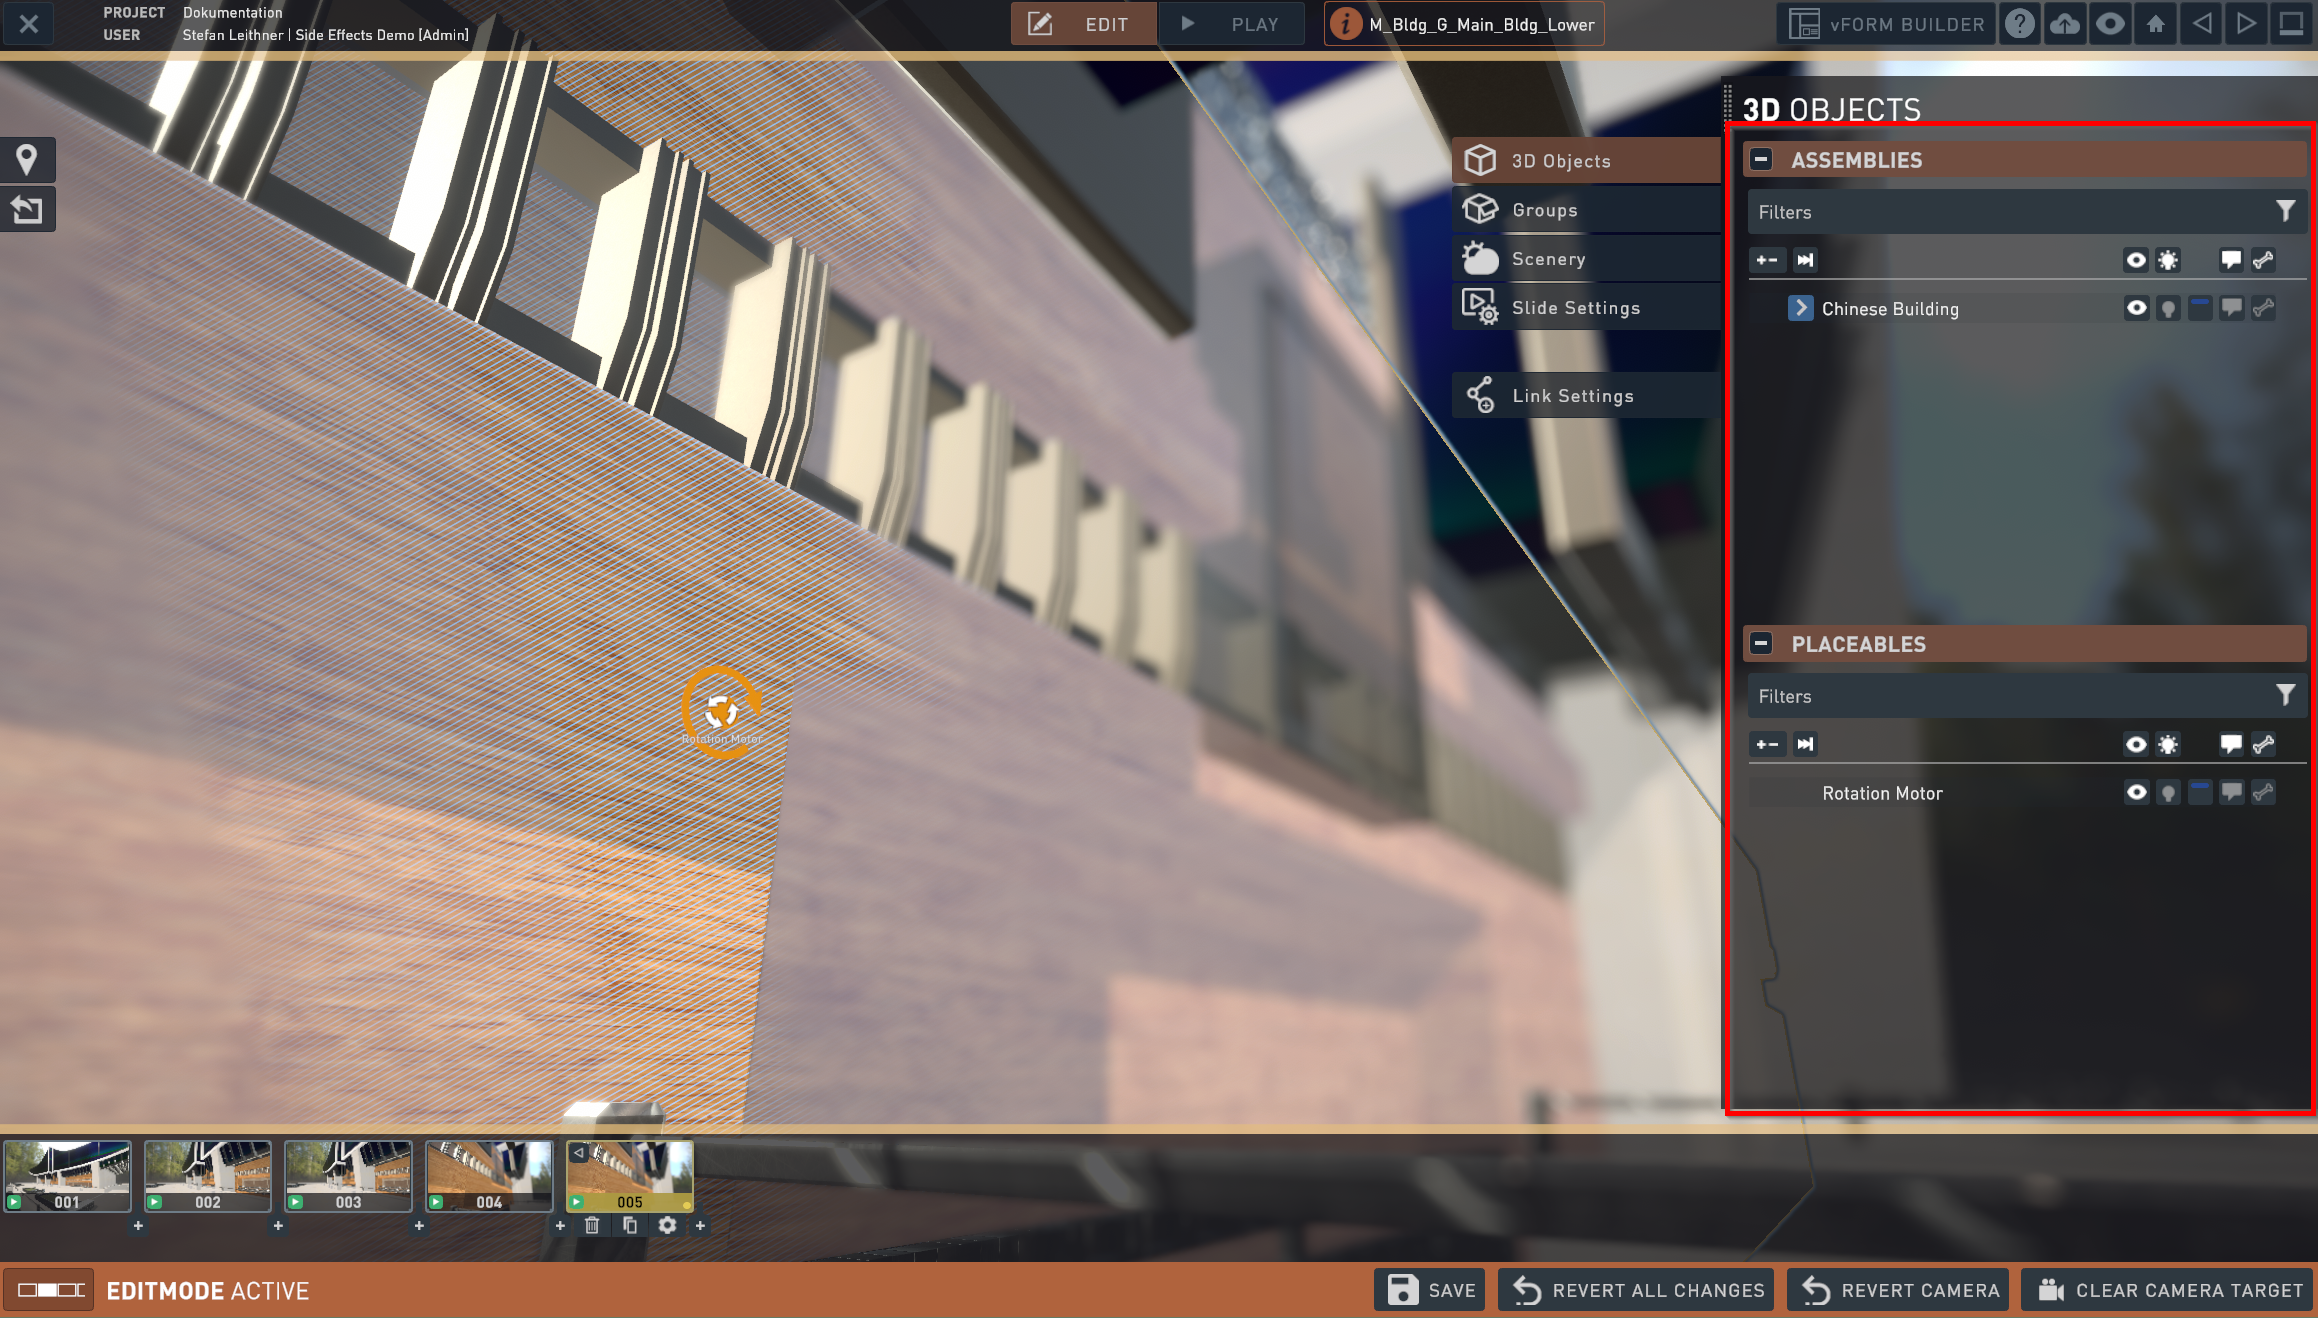
In this case the list shows 1 item; "Chinese Building". These items are followed by 6 options which when activated work on that specific slide:
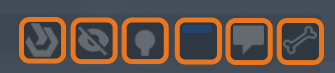
- MS-Guides Relevance: [W.I.P]
- Visibility: Turns the visibility of the respective 3D Object On or Off.
- Highlight: highlights the selected 3D Objects in the viewport
- Highlight color: change the object's highlight color.
- Captions: displays name of the object in the viewport.
- X-ray: Makes object see-through
Is the option turned on, it will be highlighted.
Above the list we can find the same options, but they work globally, which affects all items on scene when used.

and finally, at the top of the 3D Objects tab we can find the filtered search.

This search filters the 3D Objects list based on the activated filter:
- Name: Lists only the objects matching the inputted name.
- Visible: list objects currently visible in the viewport.
- Highlight: Lists objects currently highlighted in the viewport.
- Accent Color Set: Lists the items that have set a color.
- X-Ray: Lists objects that have X-ray enabled.
- Selected: Lists objects currently selected in the viewport.
- Layer-Index: Lists objects from index.
¶ Placeable Asset
Found on the left side of the viewport, the “Placeable Assets” Tab contains a list of all supplementary 3D Objects that can be placed on the scene.
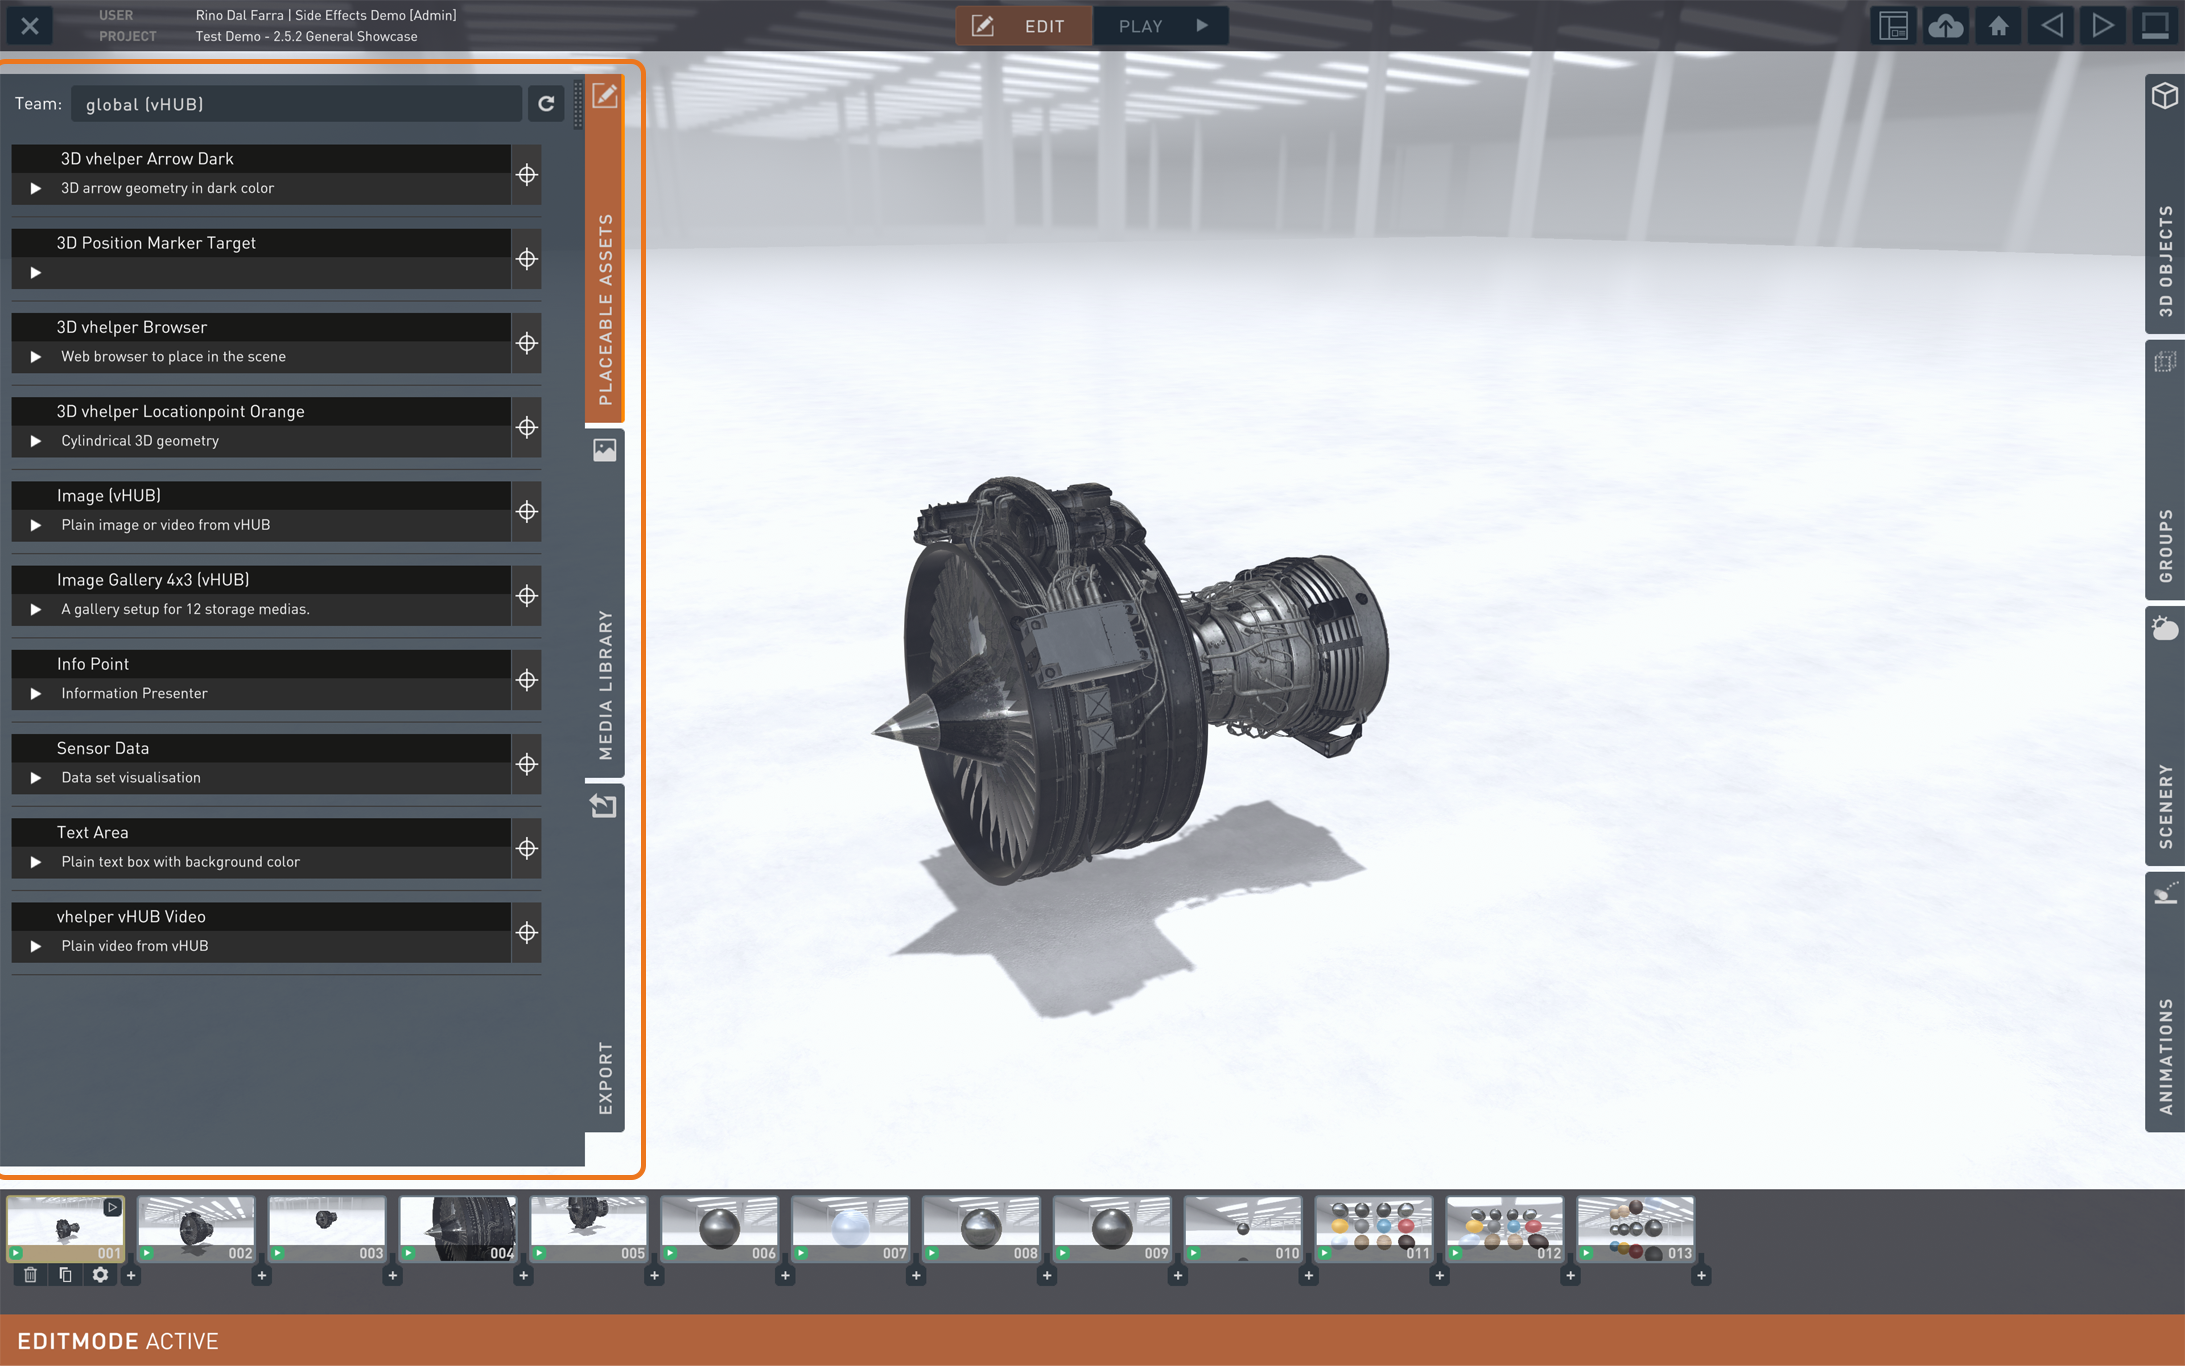
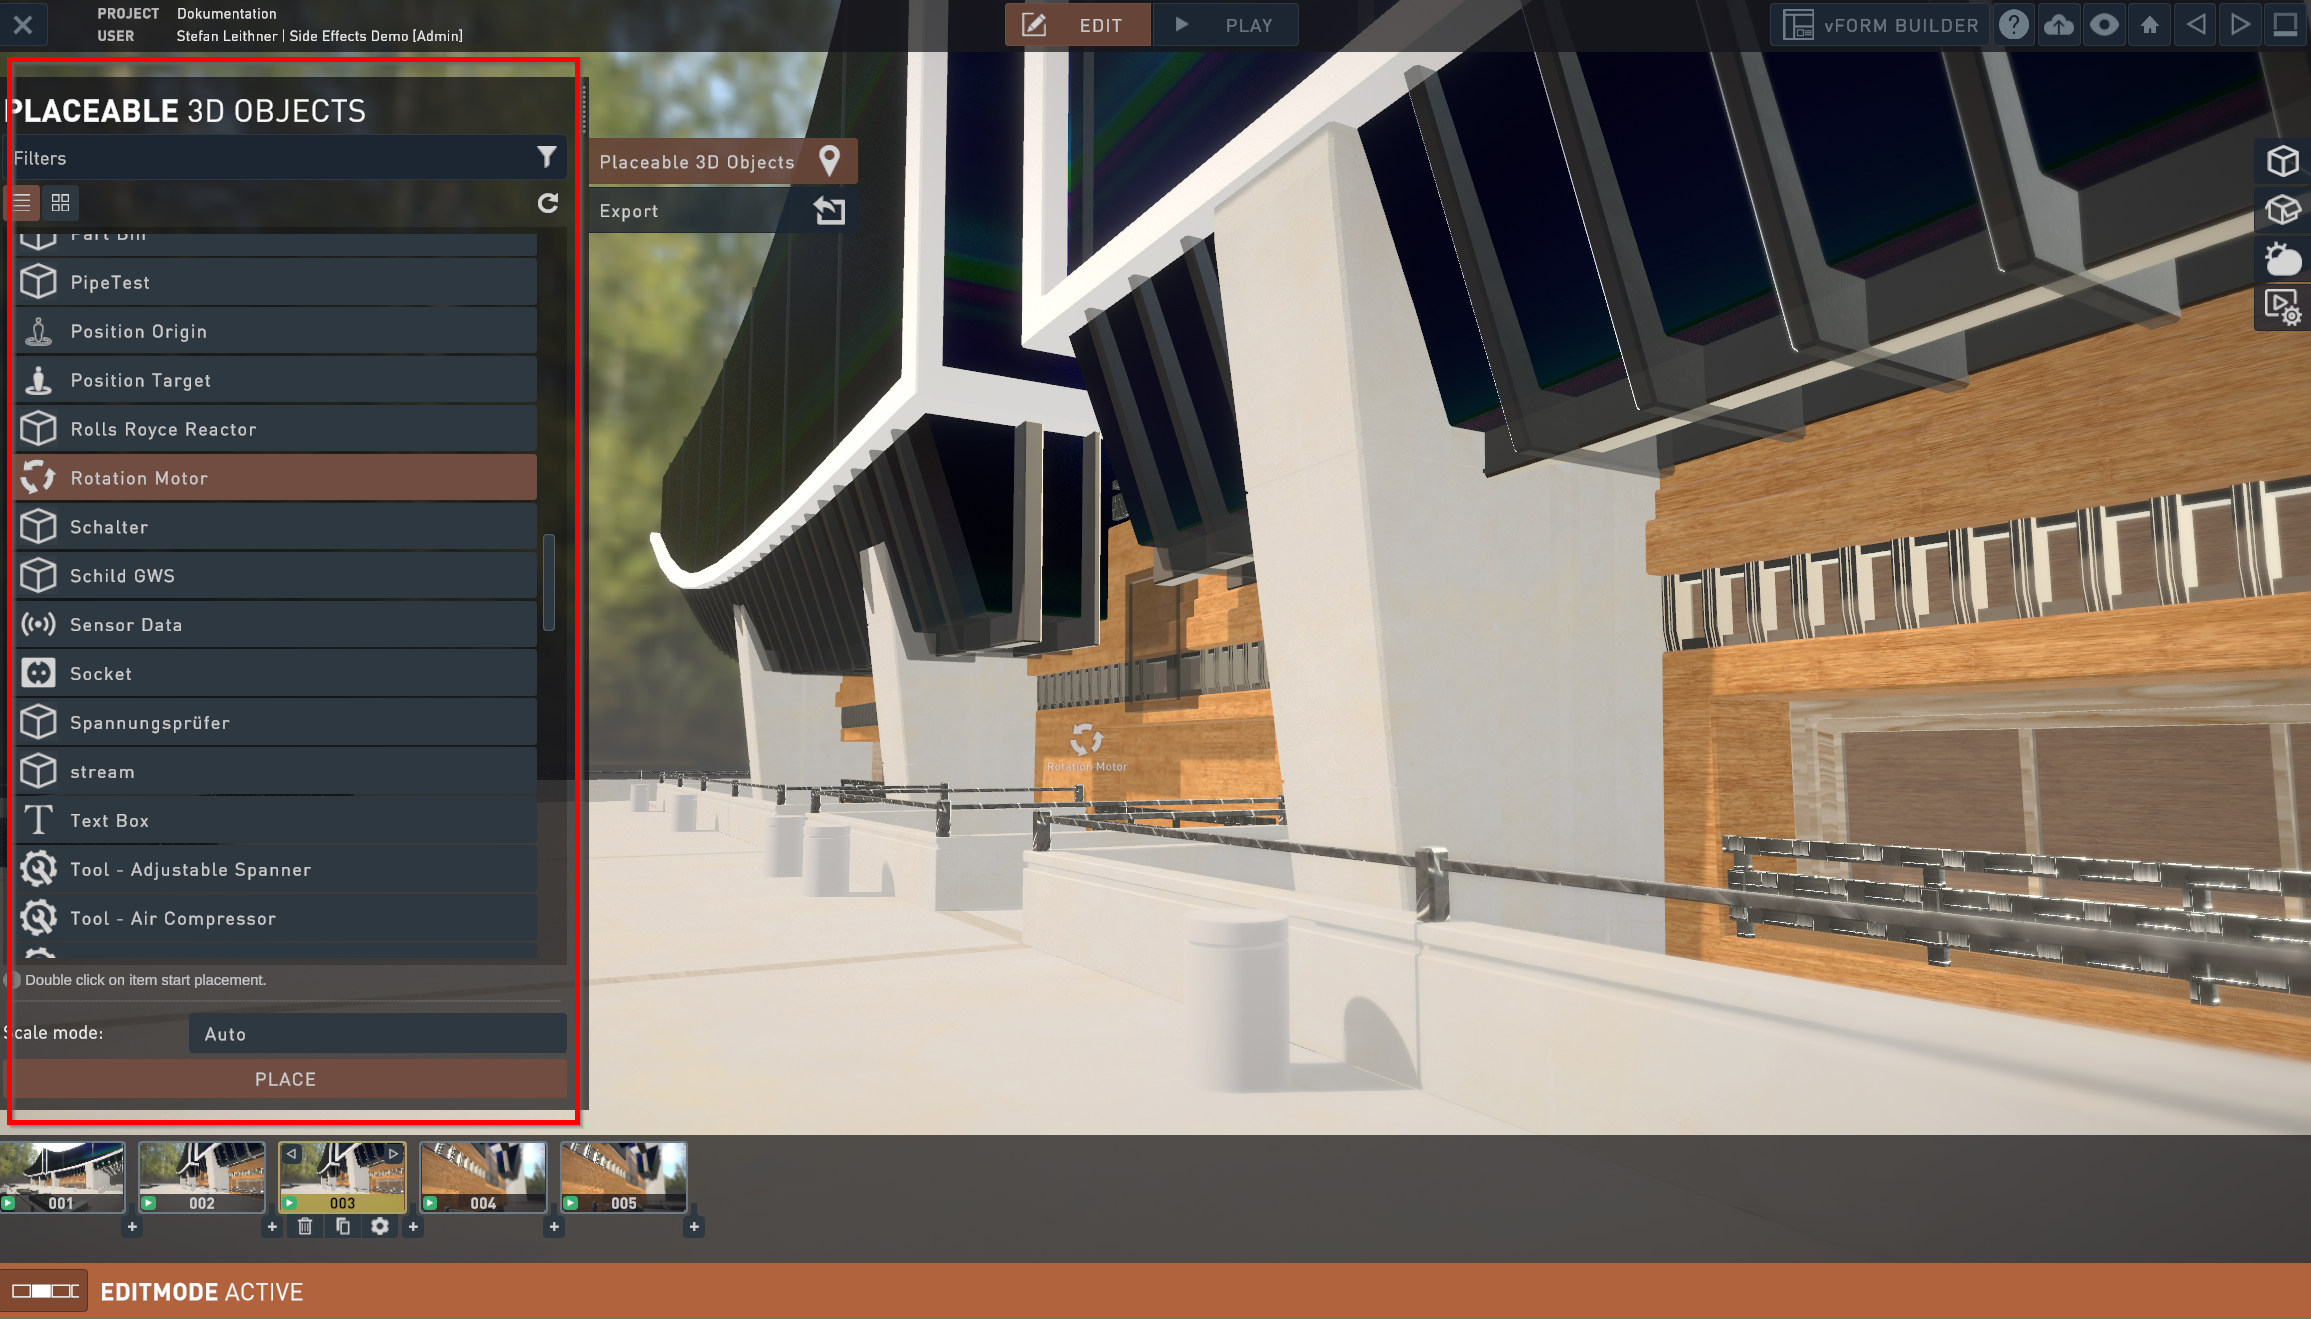
On the current version of vSTAGE the available “Placeable Asset” allow to place Images (image and image gallery), Videos (plain video), Web browsers (gives access to a predefined website) and simplified 3d objects (primitive geometry, marker, avatar, arrow, pinpoint marker). To clarify that these are available to all organizations, and the Users can link any Media to them via vHUB or create more simplified 3D Objects by uploading 3D Data as vHELPER.
To place a an Asset into the scene do the following:
- Open up the “Placeable Asset” menu.
- navigate to the desires Asset.
- Click on the target icon next to the Asset.
- move the cursor to the desired spot on the viewport and left click to confirm placement.
¶ Group
The groups tab can be found on the right side of the viewport and contains an initially empty list of 3d objects group we can create. A group saves an active selection so that we can
On the upper section of this tab we are presented with 3 options:
- Create: With an active selection on the viewport, click on “Create” to establish the current selection as a group.
- Rename: With a group selected on the “Group” tab, click on “Rename” to prompt a pop up to change the name of the group.
- Delete: With a group selected on the “Group” tab, click on “Delete" to get rid of the active group.
On the lower section of the Group tab we can find 3 more options:
- Clear: Clears the active group selection in the viewport.
- Set: Selects the active group on the viewport.
- Add: Adds the active group to your current viewport selection.
Scenery
The Scenery tab, which is located on the right side of the viewport, allows the User to change visual effects that affect the whole look of the scene. Not all scenes include all effects, some more exclusives effects are Depth of Field, or Ambient occlusion for example.
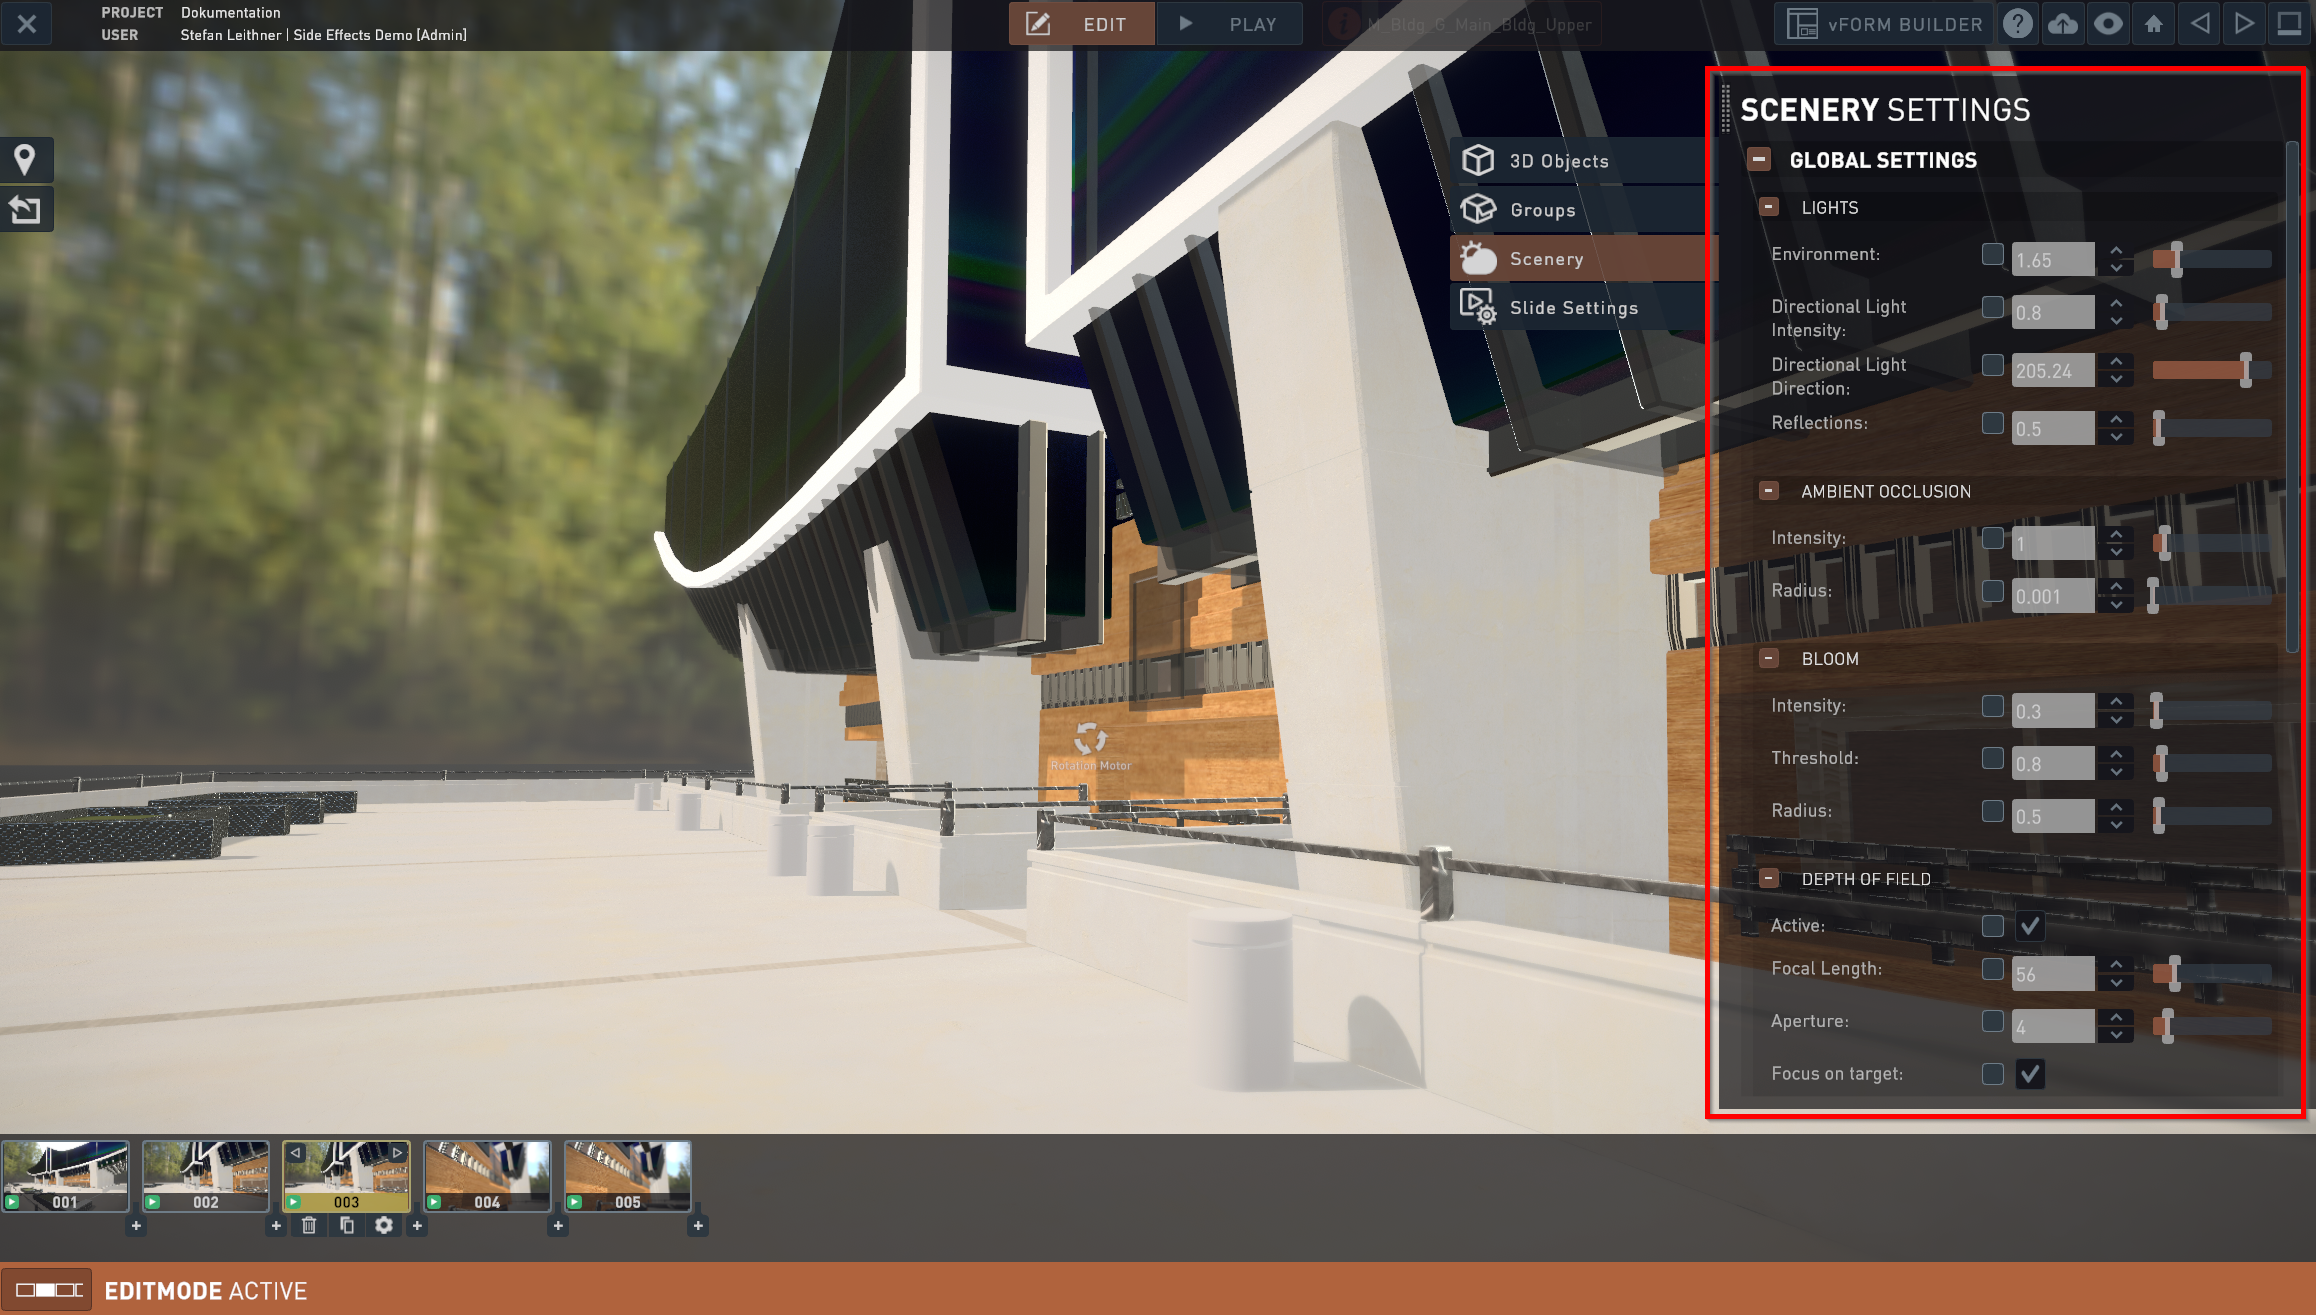
The options inside the scenery tab can be adjusted to affect either the entirety of the slideshow or just the active slide, by switching between “Global Settings” and “Slide settings”.
If any of the changes made to the settings are not desired, they can be undone by unchecking the orange tick box next to the setting's name.
¶ Export
This tab can be found on the left side of the viewport and allows the User to change specific settings before exporting the slideshow as a video in .mp4 format.
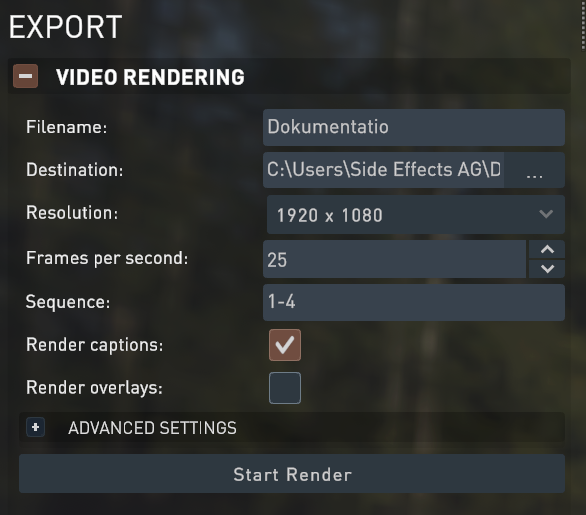
- Filename: Assign / change the name of the output.
- Destination: determines the path where the output video will be saved to.
- Resolution: determines the video resolution. the options are
- 800 x 600
- 1024 x 1080
- 1920 x 1080
- 3840 x 2160
- Frames per second: determines how many frames will be rendered for the video, with higher amount translating to a smoother video. The options are 24, 25, and 30 frames per second.
- Render captions: If any object on the scene has captions turned on, and we want them to be saved on the video then turn this option on.
- Render: start recording and saving the slideshow in the desired path
¶ Generate Video Web Version
On the left Panel you have the option to create dynamic transitions, instead of hard cuts, between slides for your webversion of the project.
¶ Play Mode
In Play mode the User can manually go through the slideshow, or set it so that it autoplay (the possibility to let it loop is also there). In this mode the UI Elements are there to help the User to showcase the slideshow.
¶ Top Bar
On the Upper right section of the screen we can find 6 options to navigate through the slides as well to hide the menu if need be.

- VR mode: Start vStage in VR Mode [More to this can be found on an upcoming chapter]
- First Slide: Moves the User to the first slide of the slideshow
- Previous Slide: Moves the User to the previous slide in the slideshow
- Next Slide: Moves the User to the next slide in the slideshow
- Hide UI: Hides all UI elements on screen for better display.
- Minimize Application: Minimizes the App to the taskbar.
¶ Slideshow options
- Display Slides: Displays or hides the Array of Slides showed on the bottom section of the screen.
- Play Slideshow: Plays the slideshow automatically.
- Loop playthrough: Loops the Slideshow if it is playing automatically.